2022-07-23
plex
media-server
raspberry-pi
Setup a home media server in minutes with your existing or "ripped" library of content.
Finding content to watch in the streaming age is hard, there are too many options to choose from, and chances are you won't find that one show you wanted to see because of streaming rights — or just your location!
With DVDs and Blu-rays left the only option* to get that film or show, playback is difficult as you're now used to getting the stuff on demand, with it being able to remember where you left it off. Plugging and swapping disks requires getting out of that recliner after all!

Setting up a Home Media Server
Plex makes it easier to store, organize and stream your media across your devices at home. All you need is a few minutes to set it up.
Requirements:
- A computer (old laptop, mini-pc, NAS server etc.) — It just needs to run windows/macos/linux.
- A storage device
- Network connection — This is a given, since you'd want to stream your media
The Server
I'm using a RaspberryPi Model 4 for this guide, but any computer/laptop could do.
Ideally you want something that you can plug and leave it, so old laptops or mini PCs would be great for this use case. They also won't take a lot of power. The server needs a couple of IO ports (USB/SATA/NVME) for your storage device(s) and network (WiFi/LAN) to connect with your router.
RaspberryPi 4 supports all of these, is cheap and energy efficient, hence preferred here.
While you can also use a dedicated NAS server, those are expensive with even more expensive storage options. For a media collection, unless you're keeping something sensitive on it, it does not make sense to setup a full blown NAS with RAID-X configuration. If you already have one, then you should go and follow a guide to install Plex on your NAS server.
Plug your computer into a UPS to avoid data corruption.
The Storage
Now that you've picked a device to host your server, you'll need something to put those media files on. This could be internal hard disk as well, but unless it's a very high capacity drive, you'd better opt for an external or plug-in platter drive. (Ideally 4+ GB). Chances are you already have a couple of these lying around.
I'm opting for an externally powered 3.5" WD MyBook 12TB drive. The external power means the raspberry pi won't also have to power up the disk, keeping it cool.
NAS drives are different, they come with inbuilt caches and safety — which is nice, but it comes at a cost. A desktop drive like MyBook above can also be plugged in to your computer directly.
Make sure to plug your drive also on the UPS so you don't accidentally corrupt data.
Getting the Media
If you've a blu-ray or DVD reader on your system, great! You can use a software like Handbrake or MakeMKV to convert that disk's content to files. You can also acquire your media, uhh, elsewhere.
Setting Up
Start by installing Plex Media Server on the server you've picked.
For a raspberry-pi, it's a simple. Follow this for an advanced guide.
Plug in your drive with media. Plex recommends you name organize your files in a certain way.
Ideally have a folder where movies go (you can have sub folders for A, B, C... etc within it.). Put all episodes for a show in it's own folder, preferably within season folders.
Once the media server is installed, you can open a browser on your server and head to http://localhost:32400. This will open the local plex client.
Following the on-screen setup, you'll be asked to name your server, add the directories, etc. A good idea here would be to sign up/in to your plex account. This ensures you'll have access to the server when you sign-in to your account on your phone/laptop/tv.
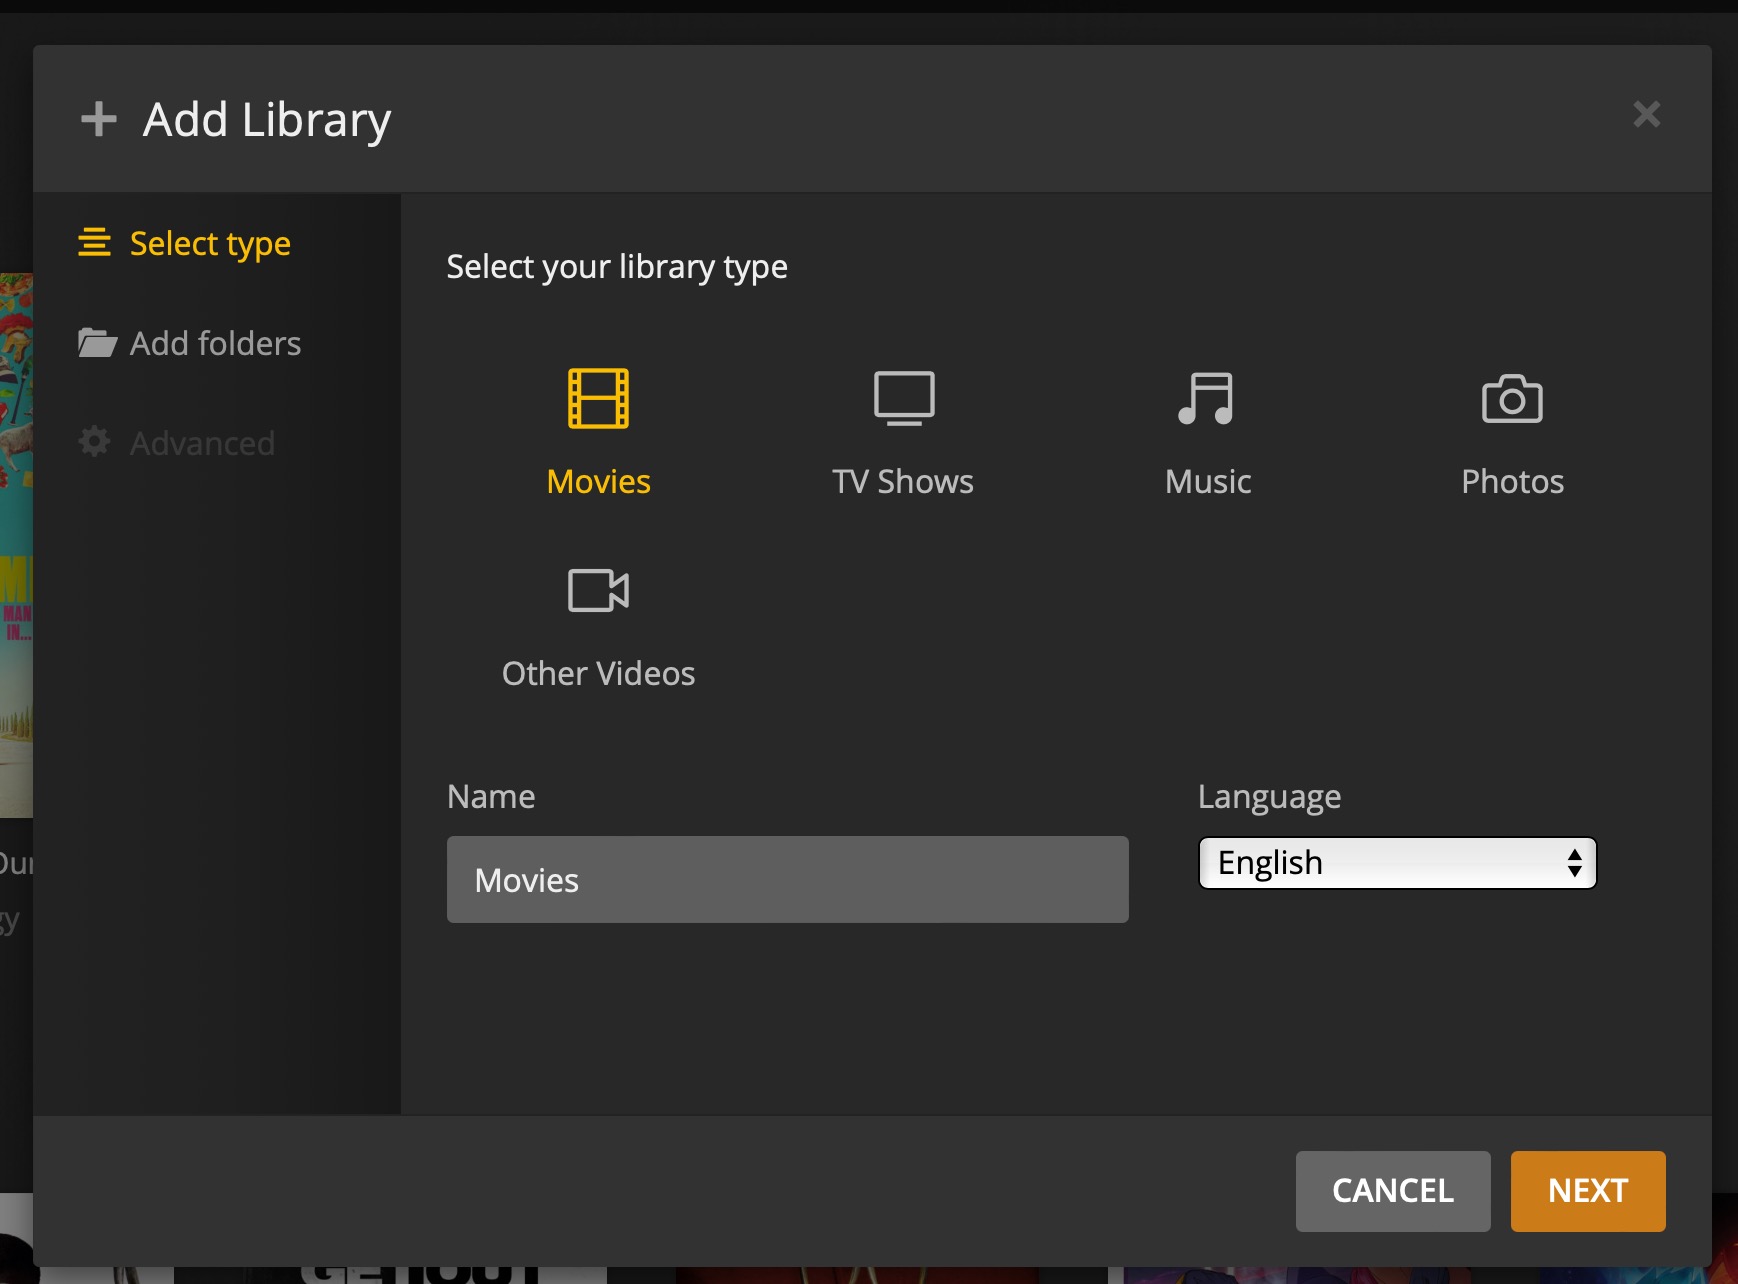
Once added, plex will do it's magic and get metadata like cover, trailers, cast, crew, rating, etc. for your media.
Now all you gotta do is download the plex client on your phone/tablet/computer/tv/etc. Apps are available for all your devices.
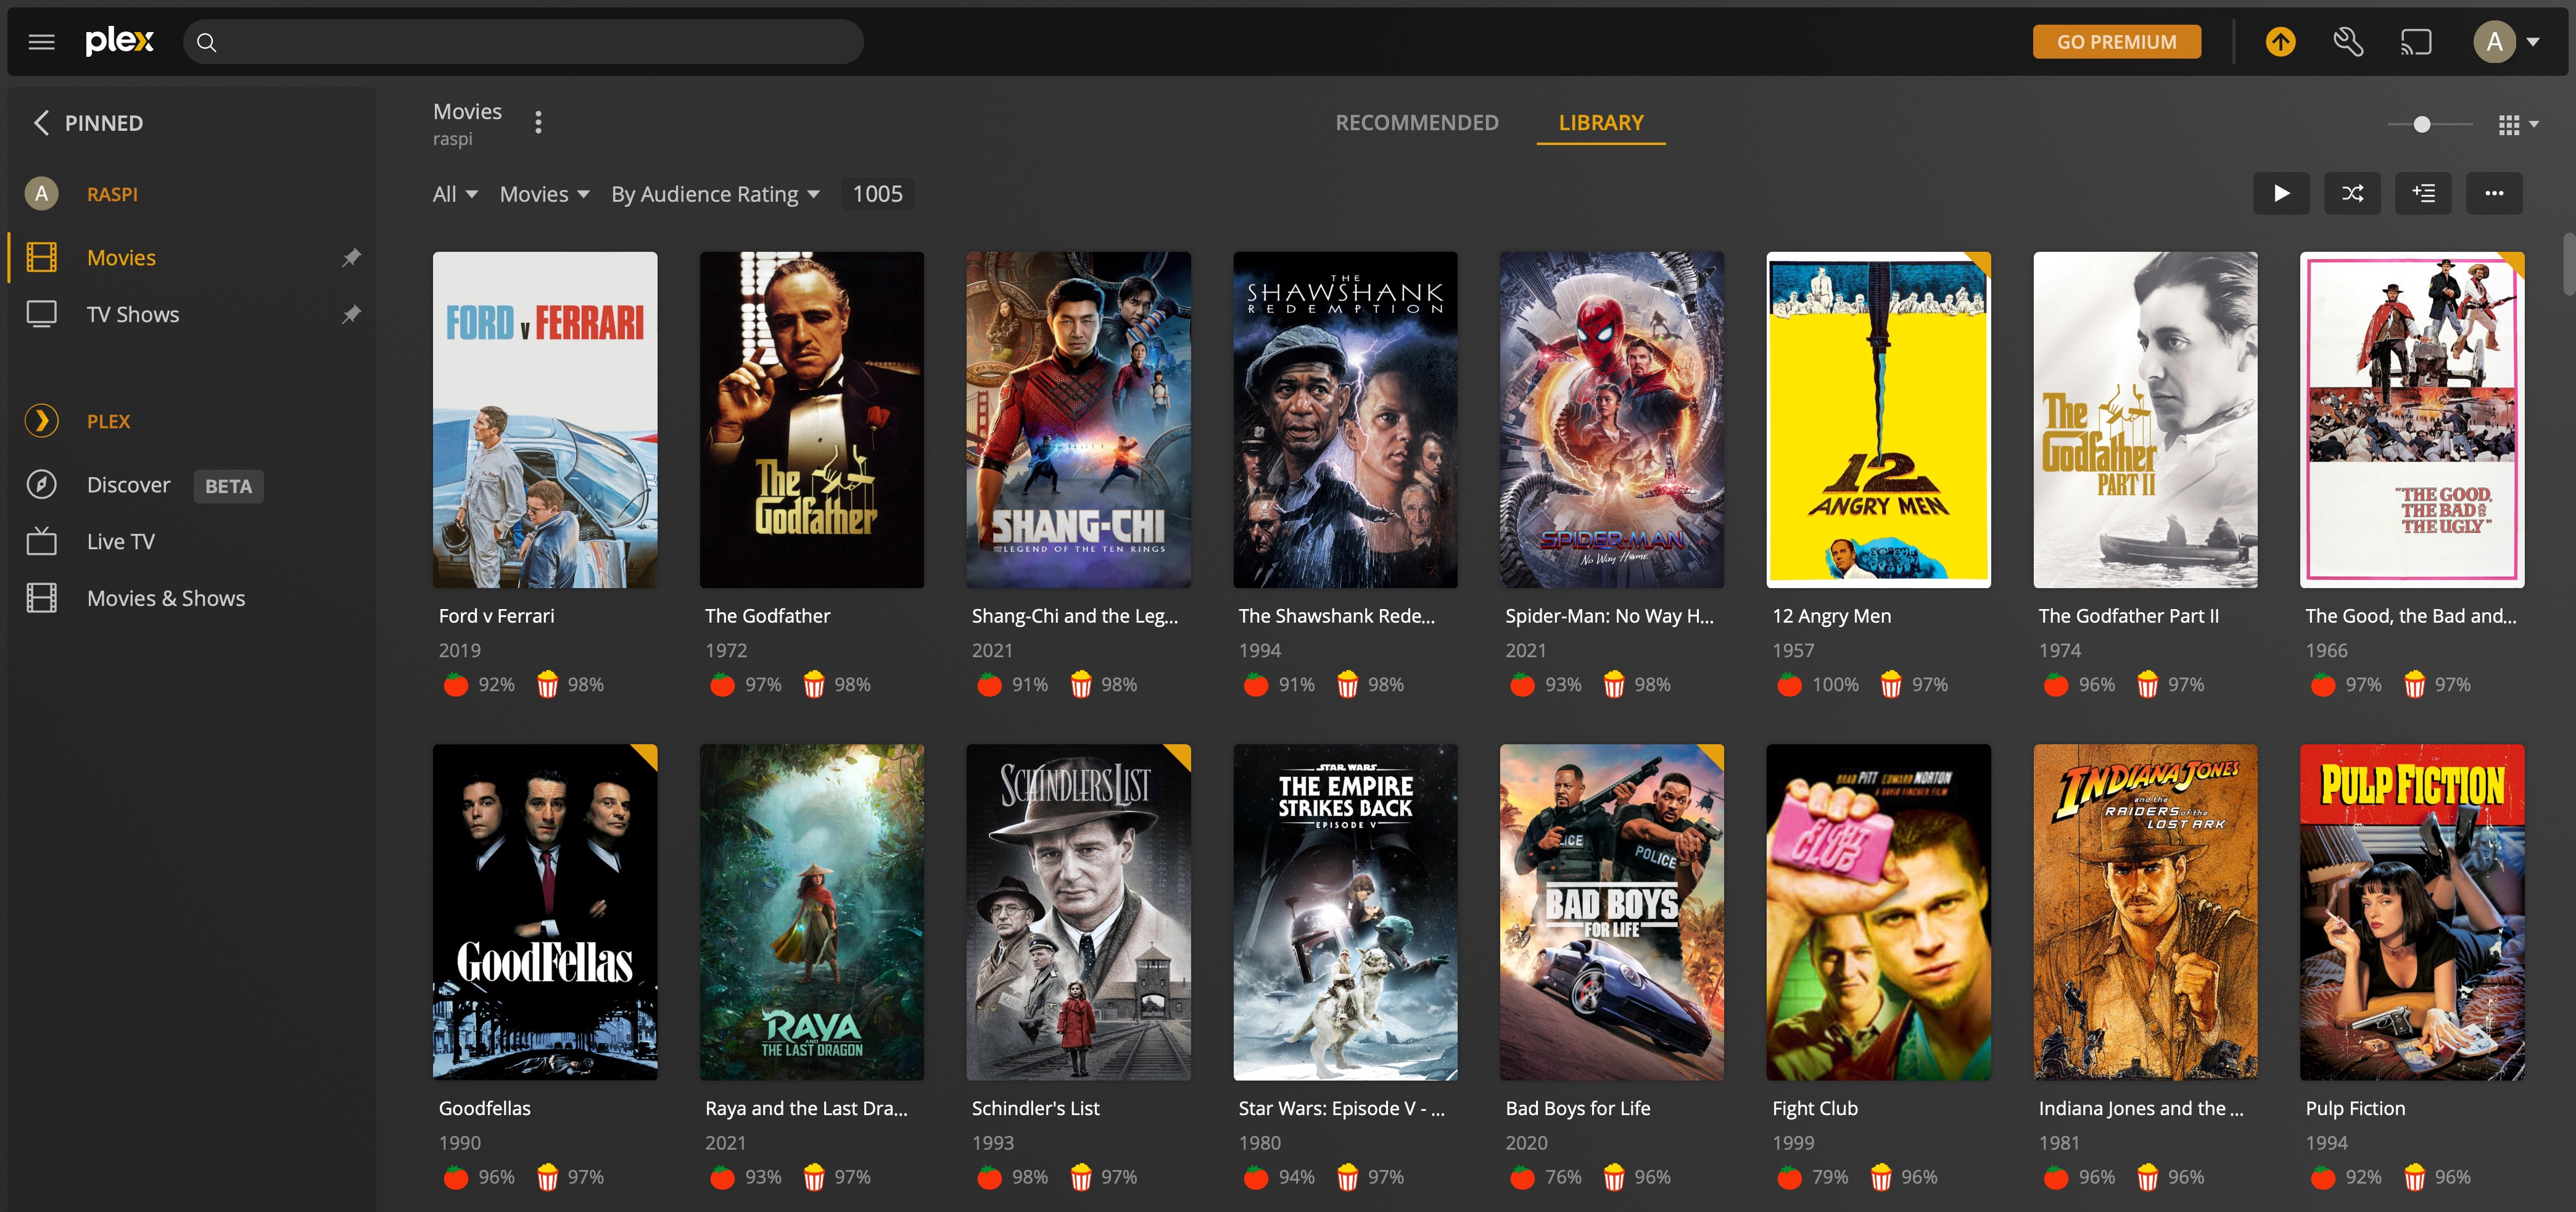
Plex will keep track of things you've watched, etc.
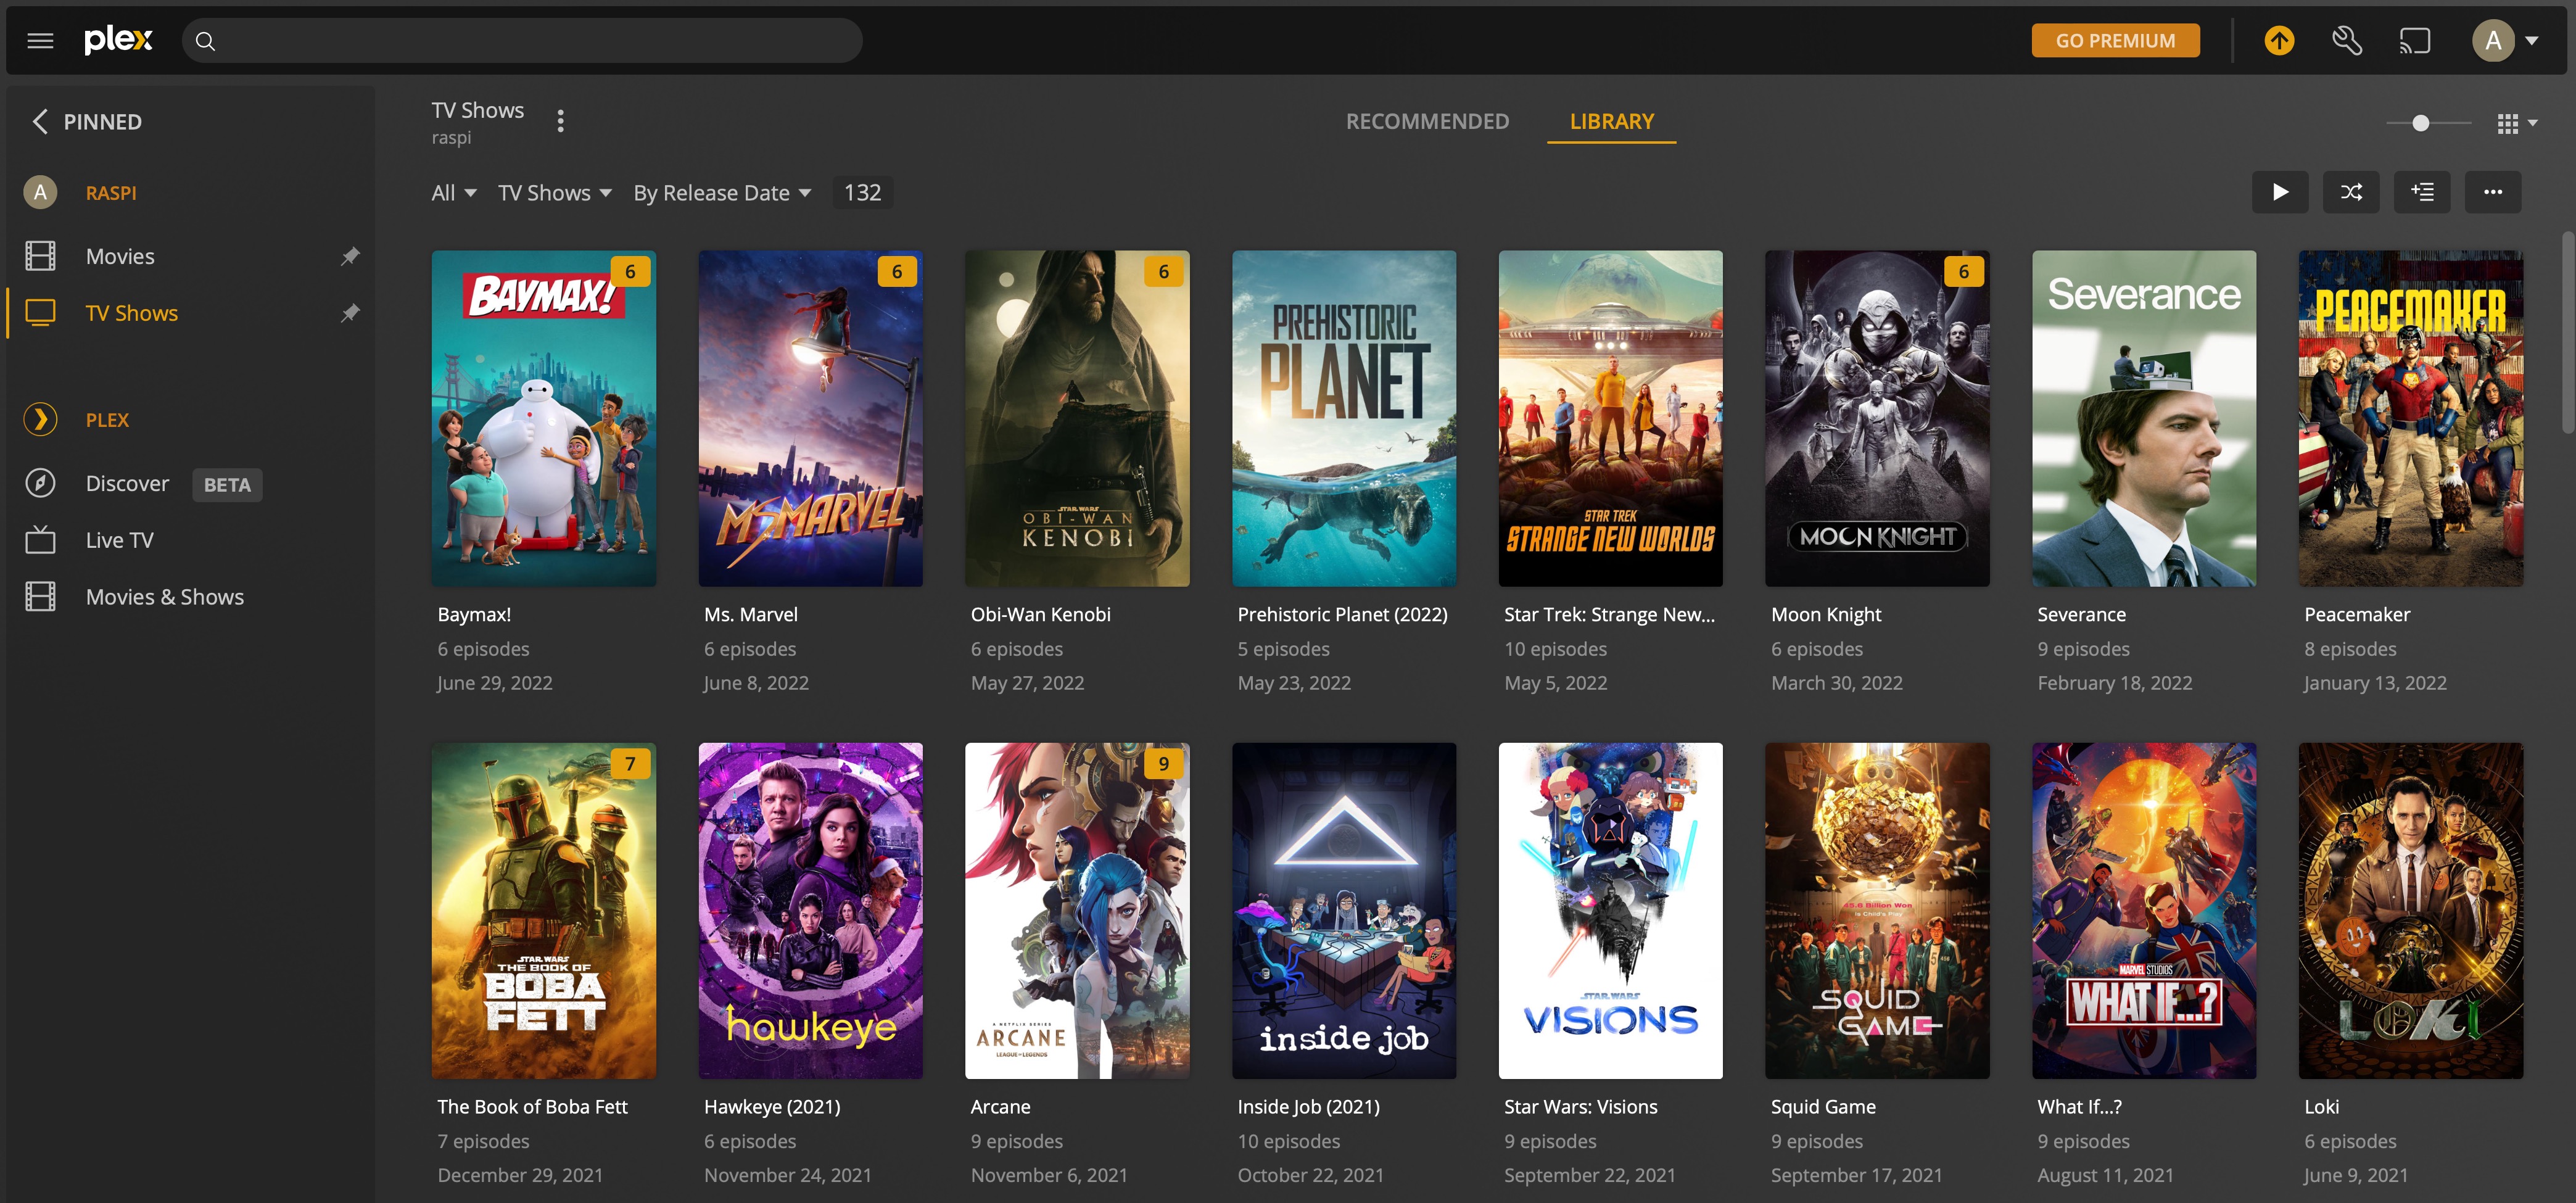
Server configuration
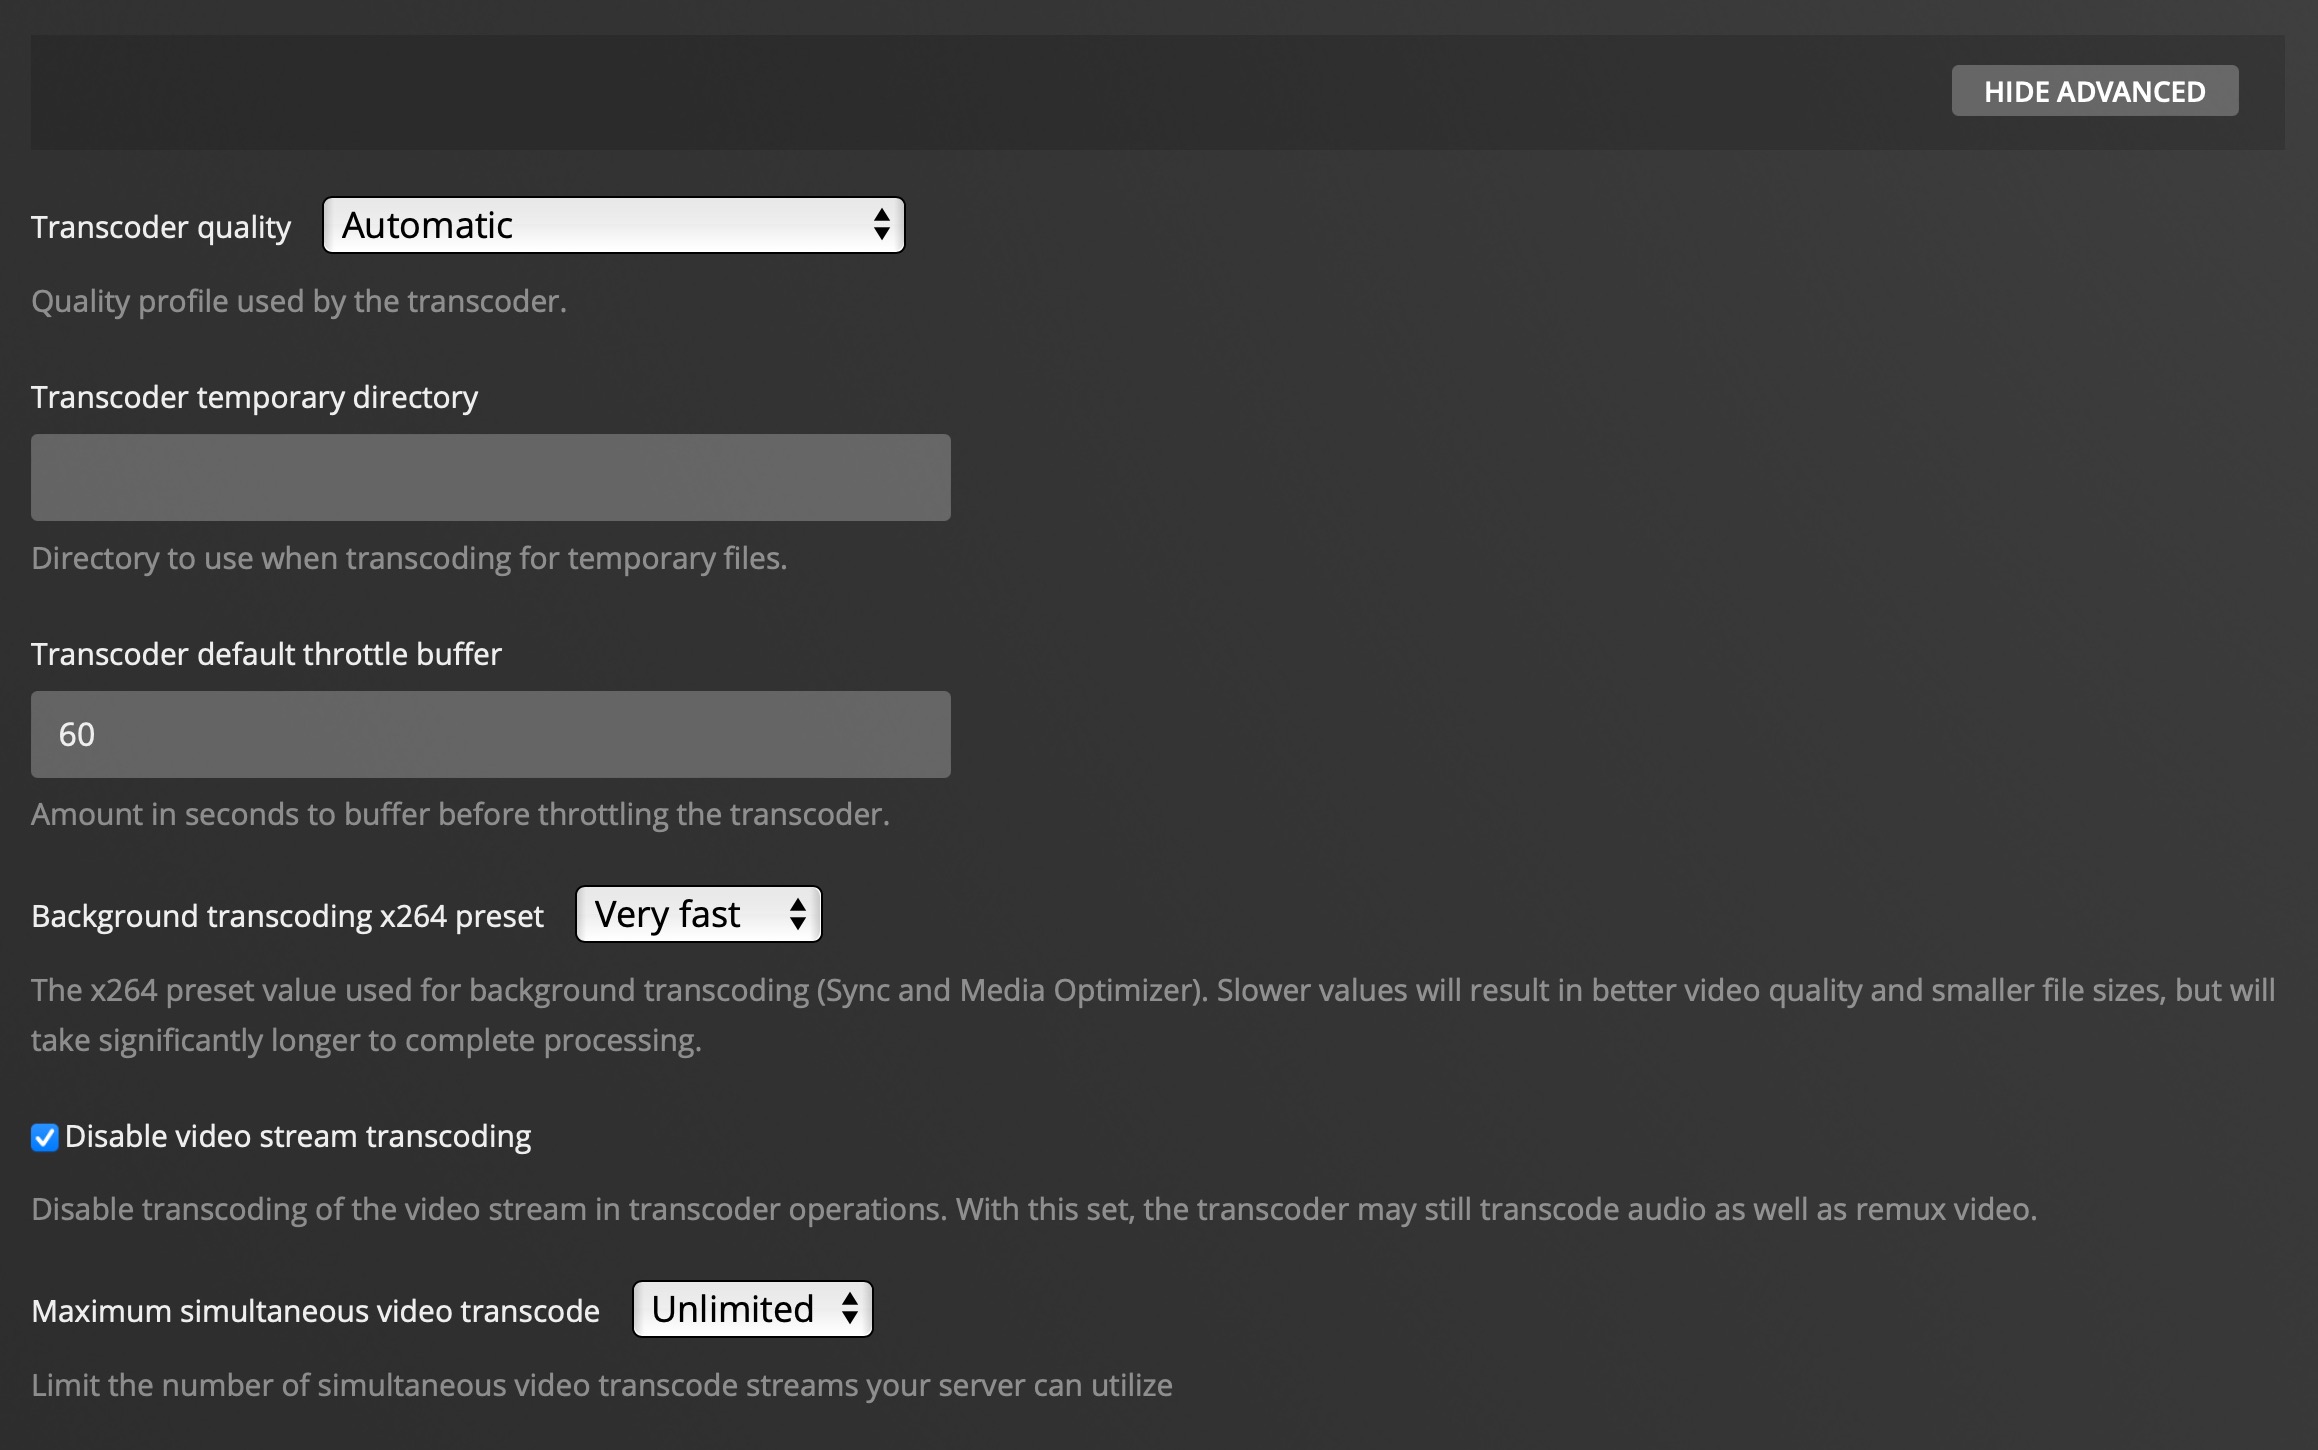
Plex server will automatically try to encode the video you're watching in the best format possible. Most modern players don't need this, as they can play most files without the need of encoding.
Disabling this option will improve performance of the stream and keep server load to a minimum. This can be found under "Transcoder" in server settings. Make sure to check "Show Advanced"
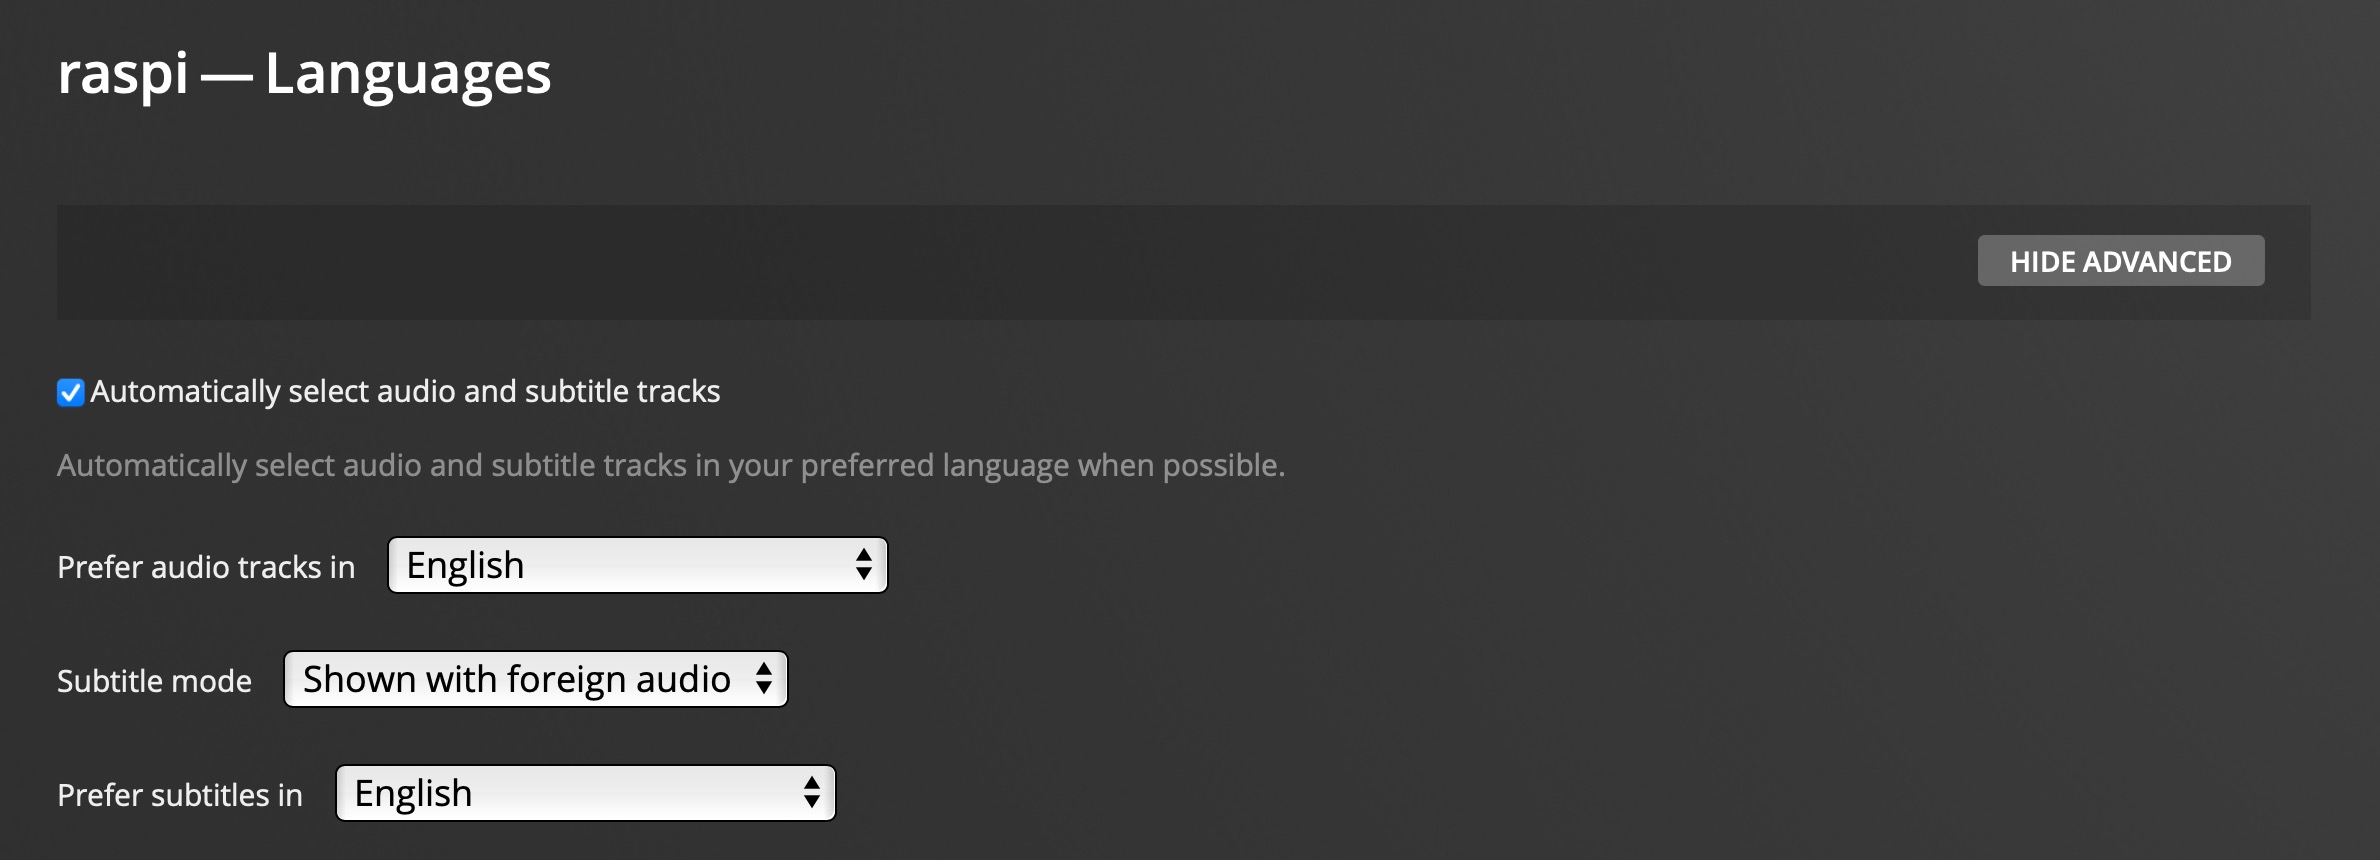
Another useful feature is auto selecting audio and subtitle tracks.
Adding media
Since a plug-n-play option for the hard dive is preferred, to add new media, we wouldn't want to shut the server down, remove the disk, plug the disk on your laptop and transfer the latest episode of the show you've been following; A good option is to also install file server tools on the raspberry pi, and share your drive over the network.
For this you can follow the various guides available, e.g. Install Samba server, net-a-talk server etc.
Check the option on the plex server to scan the library automatically when changes are detected.

Voila, now you can transfer new media onto the server over your network, and it'll be automatically be in the evening when you move to the couch. Yay!